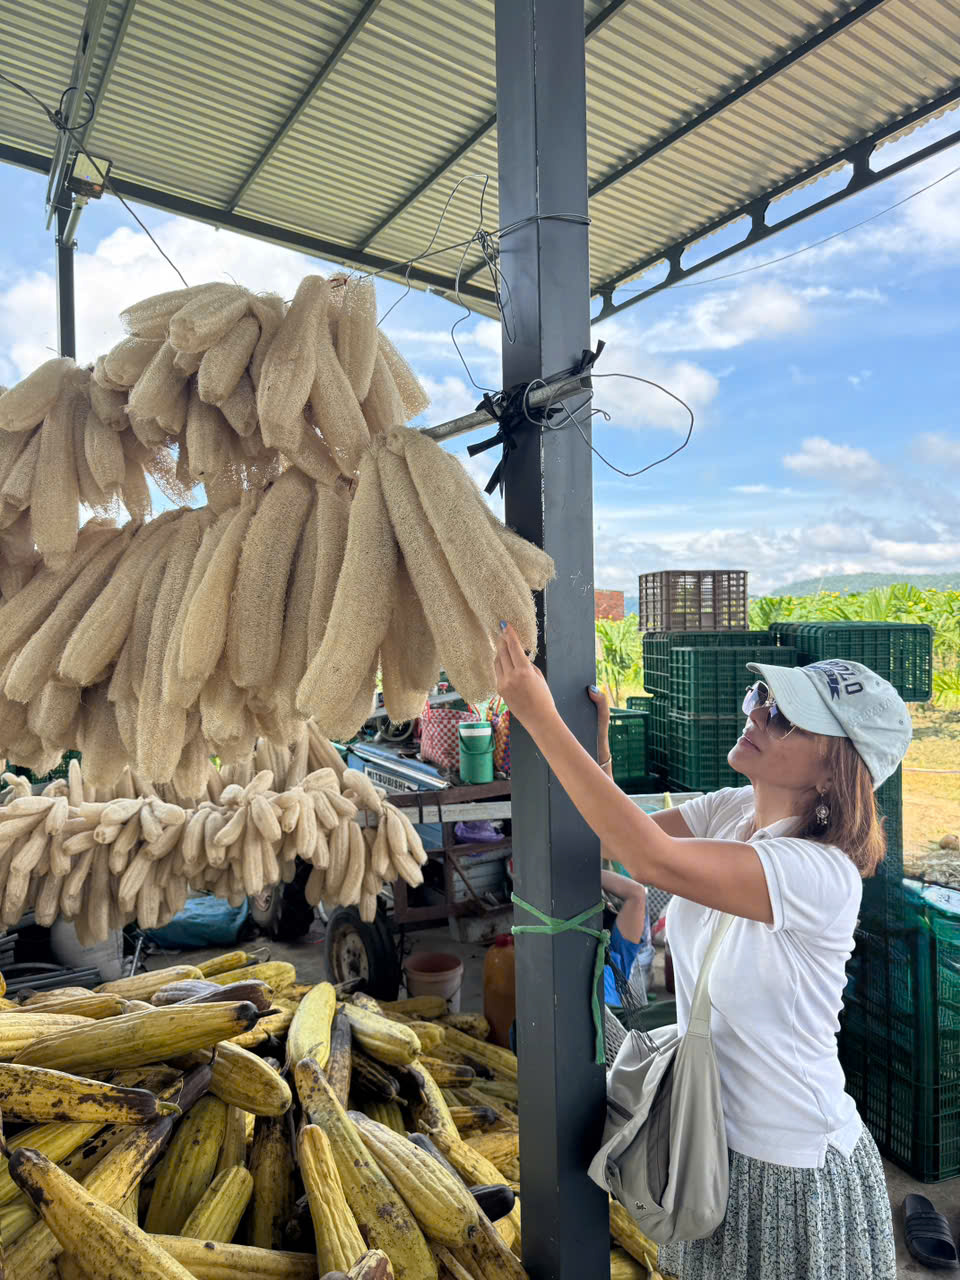
I have a childhood memory I’ll never forget. It’s the image of my grandmother bustling in the yard, next to a large basin of water, her hands nimbly peeling a shriveled, dried gourd. The ugly, dark brown skin slowly peeled away, revealing a pale yellow, net-like “skeleton” inside. She said, “This is for scrubbing your back, to get it really clean and feel good.”
At the time, I just found it magical. Growing up, amidst countless industrial products, I found myself deeply missing my grandmother’s loofah. And I realized that making your own loofah isn’t just a skill; it’s a whole journey of reconnecting with nature, with the simple, sustainable values we are gradually losing. Today, with the experience of someone who has tried and succeeded many times, I, from Loofah Global, will share this exciting journey with you.
Why Should You Make Your Own Loofah? More Than Just a Bath Sponge
Before we get our hands dirty, let’s explore why spending a little time to DIY a loofah at home is so worthwhile. It’s not just a “green living” trend, you know.
Completely Safe for Your Skin
Did you know that industrial bath sponges often contain microplastics, dyes, and preservatives? When scrubbed on your body daily, they can cause irritation to sensitive skin. In contrast, a homemade loofah is 100% natural plant fiber. It gently exfoliates dead skin cells, promotes blood circulation, and gives you rosy, smooth skin without the worry of harmful chemicals.
A Friend to the Environment
Every year, millions of plastic sponges and shower puffs are thrown away, taking hundreds of years to decompose. It’s alarming! When you switch to using and making your own loofah, you’re making a small but meaningful contribution to reducing plastic waste. Loofahs are completely biodegradable; after you’re done with them, you can toss them in the compost bin or bury them in the garden, and they will return to the earth.
Saves You a Surprising Amount of Money
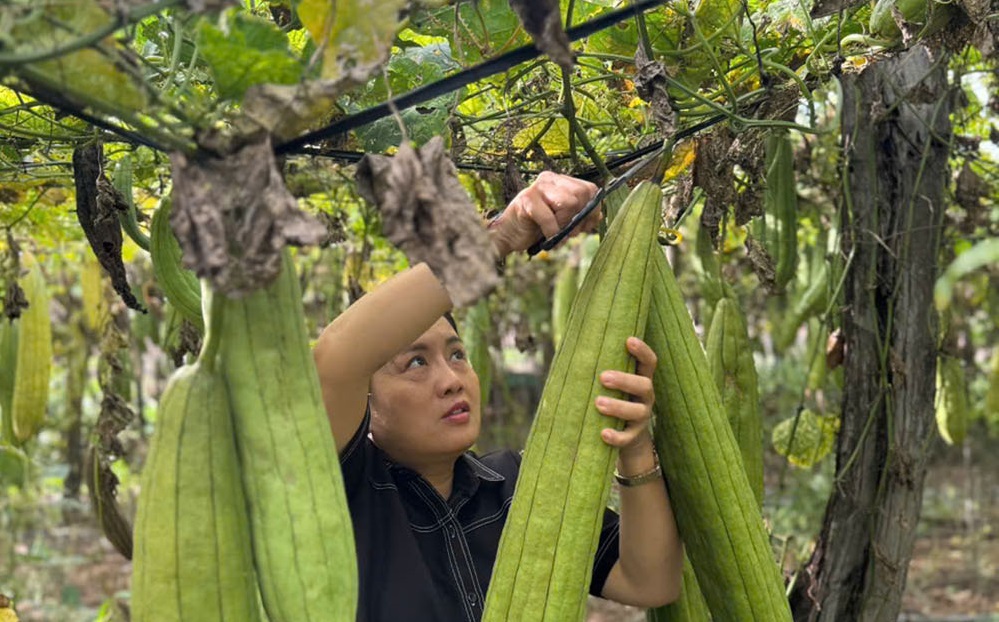
With just a few luffa seeds (the type that produces long gourds), you can grow a whole vine and harvest dozens of gourds to make loofahs. Each gourd can be cut into 2-3 pieces for gradual use. The cost is practically zero compared to buying a new bath sponge every few months. This is how a DIY loofah at home helps you save on living expenses.
The Joy of Creation
This is perhaps the reason I’m most passionate about it. The feeling of eagerly waiting for the gourd to mature, peeling it with your own hands, and then bursting with joy when you hold the golden, sun-scented result. It’s not just a product; it’s a story, a small point of pride you can show off to everyone.
Preparing Your “Toolkit” to Start the DIY Loofah Journey
Don’t worry, you don’t need any high-tech tools. Most of them are already available in your kitchen.
Main Ingredient:
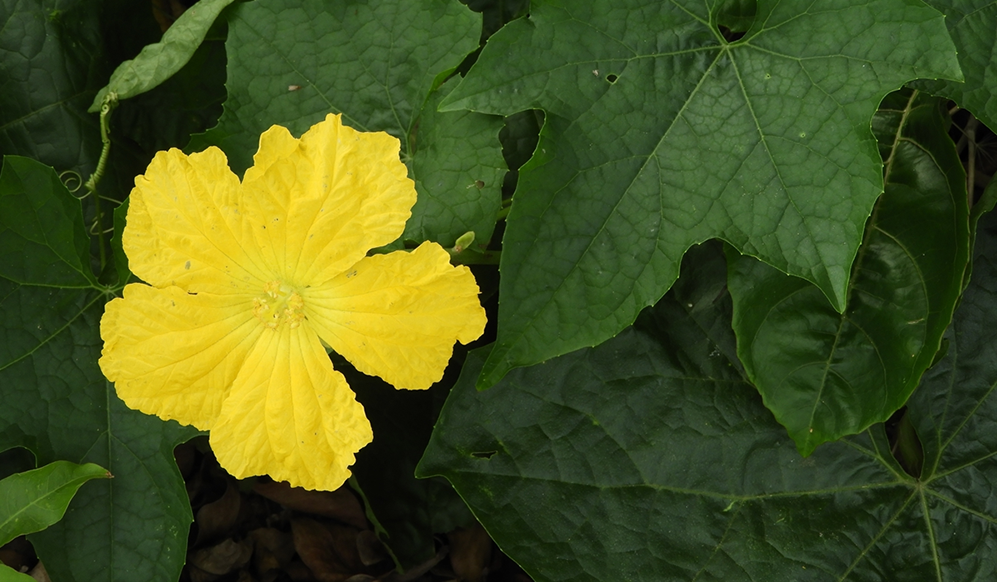
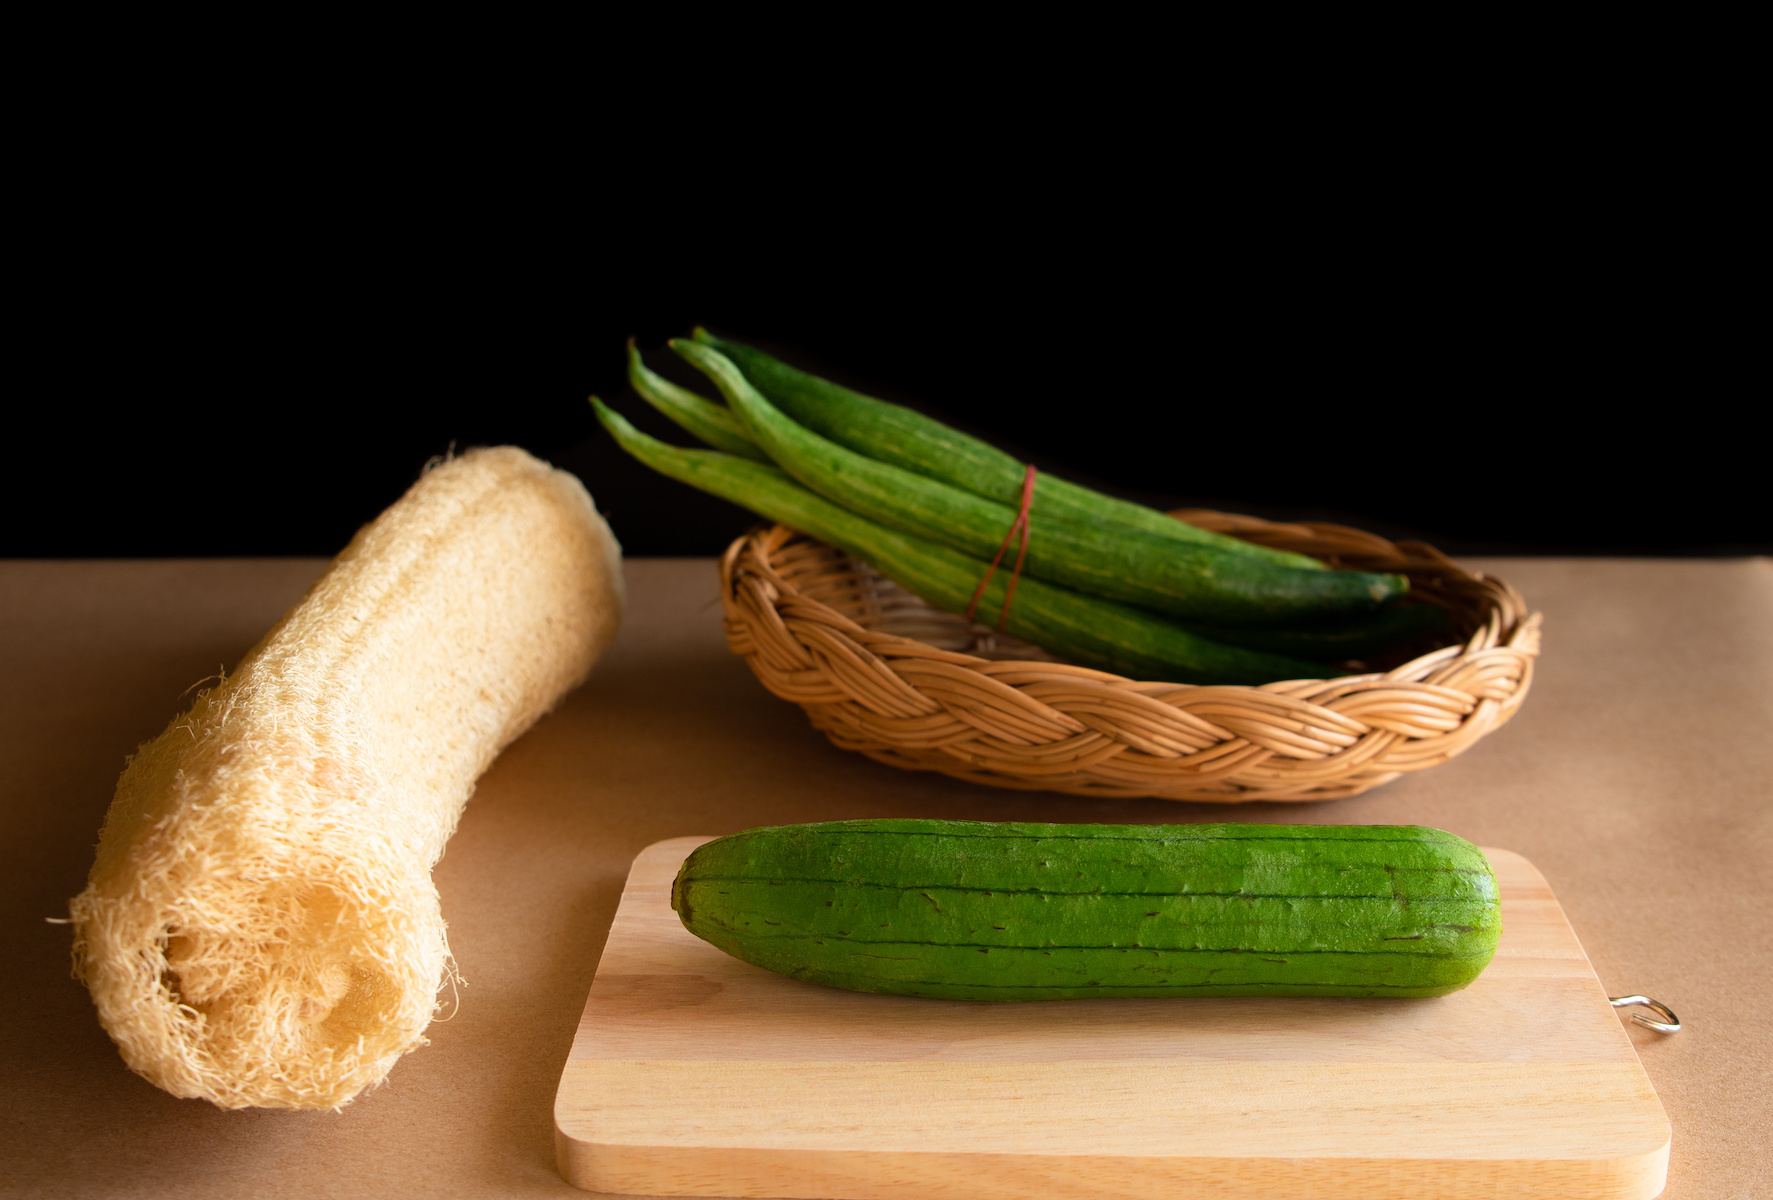
- A Mature Luffa Gourd: This is the star of the show. Not the young, green gourds for soup. You need a gourd that has fully matured and, ideally, dried naturally on the vine. The signs are a skin that has turned yellow, brown, or dark brown, the gourd feels very light, and when you shake it, you can hear the seeds rattling inside. If you don’t have a luffa vine, you can ask for or buy one at a local farmer’s market.
Supporting Tools:
- A large basin or tub, big enough to fully submerge the gourd.
- A small knife (just to cut the ends).
- Rubber gloves (if you don’t want your hands to get sticky and smelly).
- An old brush (optional, for better cleaning).
- String for hanging to dry.
It’s that simple! Now, let’s roll up our sleeves and begin the journey of making our own loofah!
A Detailed Step-by-Step Guide to Making a Loofah with Loofah Global
This is the most important part. I’ll break down each stage so you can easily visualize and follow along. Let’s imagine we’re doing this together.
Step 1: Selecting the Perfect Gourd
As mentioned, the success of your loofah-making project depends 90% on choosing the right gourd. Pick gourds that are truly old and dried out. The drier and lighter the skin, the easier the peeling process will be later. Don’t be tempted by gourds that are still slightly green, as they still have a lot of flesh inside, which will be very difficult to clean and can easily get moldy.
Once you have your “prime candidate,” use a knife to cut off the stem and the bottom tip of the gourd. This creates two openings for water to soak in more easily.
Step 2: The Soaking – The “Metamorphosis” Begins
Now, place the gourd in the basin and fill it with enough water to completely submerge it. You can use a heavy object like a stone or a plate to weigh the gourd down, as it’s very light and tends to float.
This is the stage that requires patience. You’ll need to soak the gourd for about 2 to 3 days, or until you see the outer skin become soft and mushy.
An important note from Loofah Global: During the soaking process, the water will start to have a strong, even foul, smell. Don’t panic! This is a completely normal sign of the decomposition of the skin and flesh. It’s a sign that you’re on the right track. Just ignore that “unpleasant” aroma; the final result will be very fragrant.
Step 3: Peeling – The “Wow” Moment of Revelation
This is the most fun and satisfying step in the entire DIY loofah process. After a few days of soaking, the outer skin is soft and pulpy. Put on your gloves, gently squeeze and rub along the length of the gourd.
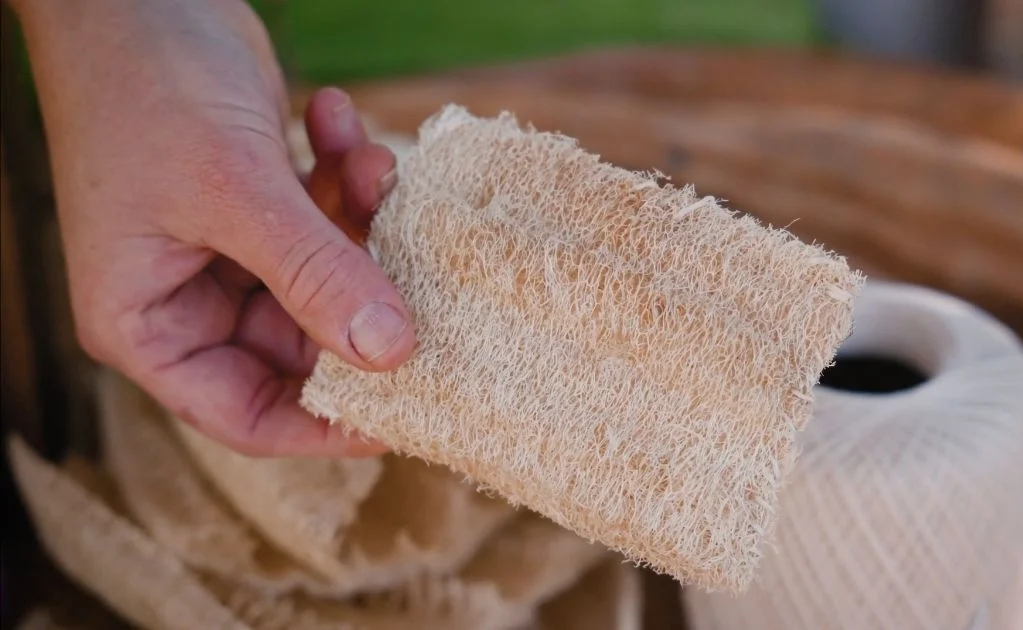
You’ll feel the skin slip off the fibrous interior with surprising ease. Just like that, you gently peel away the entire dark-colored skin. And then… “Wow!” A pale yellow fibrous skeleton, with a complex but beautiful interwoven network, will appear before your eyes. I guarantee, the first time you successfully peel it, you’ll exclaim with delight. It’s like opening a gift from nature.
Step 4: Deseeding and Cleaning Thoroughly
After peeling, the loofah still contains a lot of seeds and some leftover pulp. Hold the loofah, turn the larger end down, and shake it vigorously. Hundreds of shiny black seeds will pour out like a rain shower.
Be sure to save the plumpest, firmest seeds! Dry them out, and you have seeds for the next season—a wonderful cycle, isn’t it?
Next, hold the loofah under a strong stream of running water, squeezing it gently to push out all the remaining soft pulp. You can use an old brush to gently scrub the inside and outside until it’s completely clean. Keep rinsing until the water runs clear.
Step 5: Sun-Drying – “Basking” Your Loofah to Fragrant Perfection
The final stage of making a loofah at home is drying. Use a string to hang the loofah in a sunny, airy place. The sun and wind will help the loofah dry quickly, become beautifully white, and have a light, grassy scent.
After about 2-3 days of strong sun, the loofah will be completely dry, feeling light and crisp to the touch. At this point, you have officially completed your masterpiece. A perfect “handmade” loofah, ready to use.
A Few Little “Secrets” from Loofah Global for a More Perfect Result
Through much practice, Loofah Global has gathered a few small tips to make your DIY loofah process easier and the final product more beautiful.
- Dealing with dark spots on the loofah: Sometimes, due to weather or the gourd not being dry enough, the finished loofah might have some dark spots, which don’t look very nice. To fix this, you can soak the loofah in a solution of water mixed with lemon juice or diluted vinegar for about 15-20 minutes, then hang it to dry again. The spots will fade significantly.
- How to make the loofah whiter and softer? If you want your loofah to have a brighter white color, after cleaning it thoroughly, you can briefly boil it in water with a little baking soda for about 5 minutes, then remove it, rinse with cold water, and hang it to dry. This method also helps to soften the loofah a bit.
- Don’t be afraid of the smell during soaking: I have to repeat this because many first-timers give up at this step. The bad smell during soaking is caused by microorganisms “at work,” helping to break down the skin. This smell will disappear 100% after you wash it clean and dry it, leaving only a natural sunny fragrance.
Not Just for Bathing, What Else Can a Loofah Do?
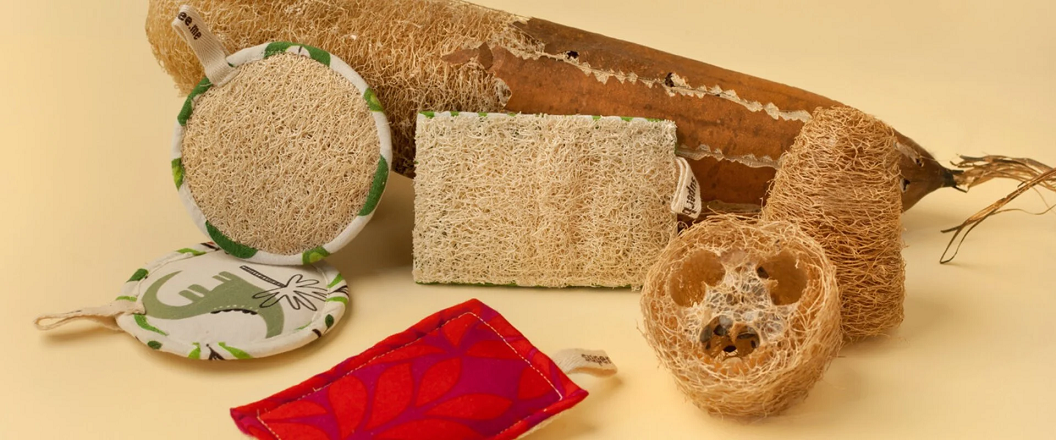
Don’t think that a loofah has only one use. With a little creativity, you can turn it into many other useful items around the house.
- A “miraculous” dish scrubber: Cut a slice of loofah and use it to wash dishes. It lathers well and cleans stubborn stains without scratching pots, pans, or non-stick surfaces. It’s a perfect replacement for plastic or metal scrubbers.
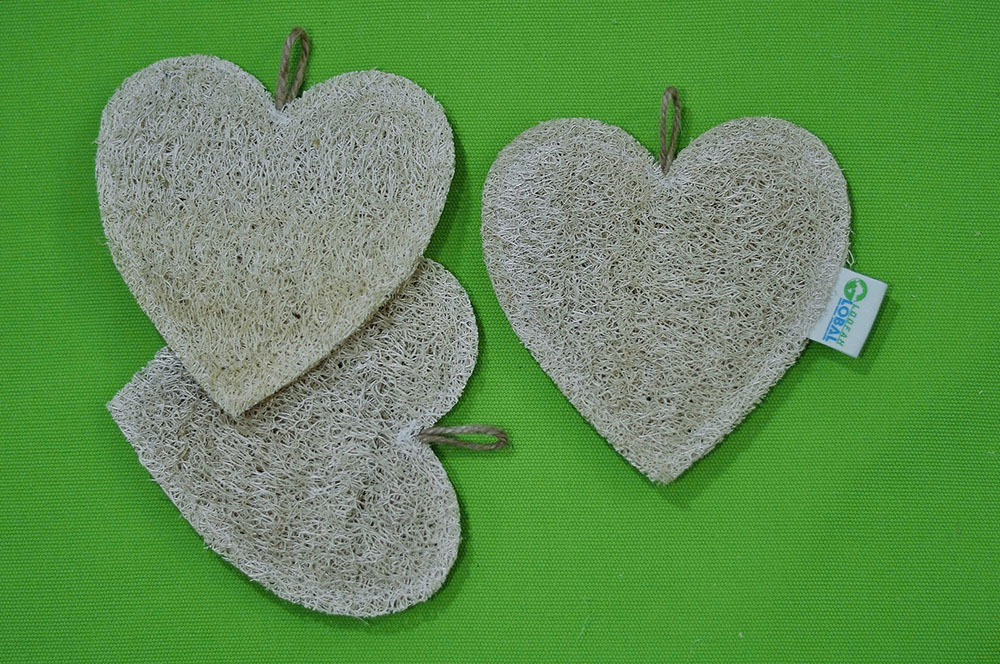
- Rustic decorations: You can use a loofah as a soap dish (it helps keep bar soap dry), for decorations, to hold dried flowers, or even as a toy for pets.
- Specialized exfoliating tool: Cut small rounds to use specifically for exfoliating thick skin areas like heels, elbows, and knees. The results are surprisingly effective.
The journey of making your own loofah not only gives you a useful product but also opens up a world of creativity from natural materials.
Conclusion
From a seemingly useless old gourd, with a few simple steps and a little patience, you have created a versatile, safe, and environmentally friendly product. The process of making a loofah at home is a wonderful experience that helps us slow down, appreciate what nature gives us more, and feel the joy of making things with our own hands.
Loofah Global hopes that with these detailed shares, you will have enough confidence to get started right away. Don’t hesitate to try, and be sure to show off your results. You will surely love your “made by me” loofah more than any expensive product.
Frequently Asked Questions About How to DIY a Loofah
How do I know if a luffa gourd is mature enough to make a loofah?
Look for gourds with skin that has turned yellow or brown and feels hard and dry to the touch. Most importantly, when you pick up the gourd and shake it gently, you should hear the seeds rattling inside. That is the surest sign that the gourd is ready for you to make your own loofah.
Will a homemade loofah be too hard and scratchy on the skin?
When freshly made and dry, a loofah will be quite stiff. However, you just need to soak it in warm water for a few minutes before bathing, and it will soften up considerably. After a few uses, it will become even softer while still retaining the necessary texture for effective, pleasant exfoliation, much more comfortable than some store-bought types.
The water I’m soaking the gourd in smells bad. Is it spoiled?
Not at all; this is a completely normal phenomenon and a good sign. That foul odor is generated by the biological decomposition of the gourd’s skin and flesh. Loofah Global assures you that this smell will completely disappear after you complete the steps of rinsing it clean under running water and drying it in the sun. The final product will only have the light, pleasant scent of sun and plants.